

Your Simple Guide to Installing a Weathervane
Are you looking to install a weathervane on a cupola? Whether you want to install a simple iron weathervane or a copper weathervane found in our online weathervane store, follow our simple guide for installing a weathervane (also, see our guide on how to install a cupola).
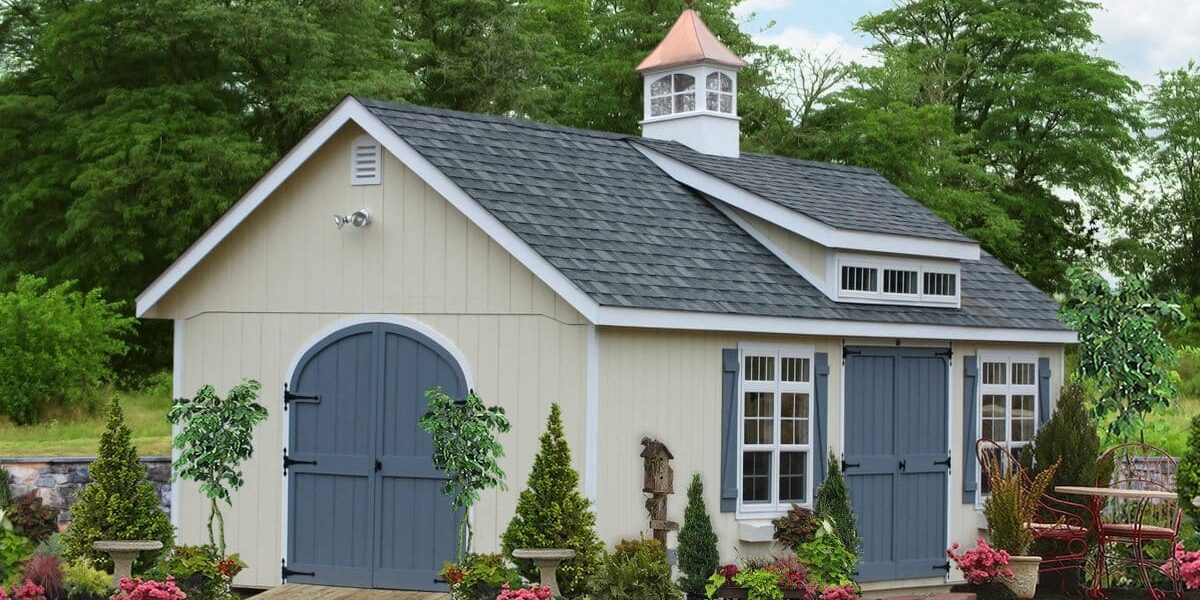
A weathervane is somewhat like the cherry on top of an ice-cream sundae. Both are attractive, but together, the cupola and weathervane are an outstanding package! Granted, installing a weathervane on top of your cupola is a bit trickier than simply setting a cherry on top of your favorite iced dairy, however, you will be surprised at how simple it can be!
Ready to Install your Weathervane?
Start by placing your weathervane and your cupola on a table so it’s easy to start the work of installing the weathervane. If your cupola is already on top of the building and you are just installing a weathervane after the fact, the process should be a bit different. You may want to remove the cupola from the roof to install the weathervane. If the cupola is larger, it might be better to find a local contractor or hire a lift to ensure safety during the installation.
The following directions apply to the copper weathervanes you will find in our online store. Many times they pair well with one of our many cooper roof cupola options as well. Keep in mind that with the following directions, your cupola will need a hole in the top/middle of the roof to mount the weathervane.
Ready to get started installing a weathervane? Let’s do it!
Step by Step Assembly of Your Cupola’s Weathervane

Process Preparation
Items Needed:
- Cupola
- Weathervane figure and attachment parts:
- 2 assembly rods (1 small rod, 1 large rod)
- 2 spacer balls
- Directionals (north, south, east, & west markers)
- Retaining clip (if your figurine has a flange at the bottom of the rod.)
- 2 adjustable wrenches
- Flathead screwdriver
- Philip head’s screwdriver
Set all these items out on a cleared area such as a workbench or table.
Ready to Assemble
Once you have all your parts and tools ready to go, then the next course of action is to start assembling your weathervane atop your cupola! Let’s do this!
Step 1
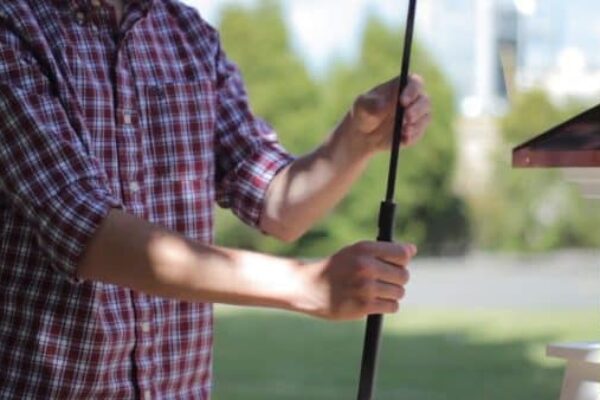
Locate your two assembly rods of the weathervane and start by screwing the small rod into the larger rod by hand.
Next tighten your two assembly rods with your two wrenches. While holding each rod with one of the wrenches rotate in opposite directions until you reach a snug hold.
Set the adjoined assembly rods to the side temporarily.
Step 2
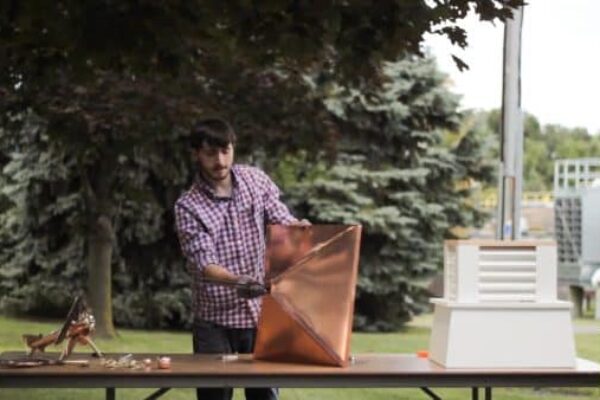
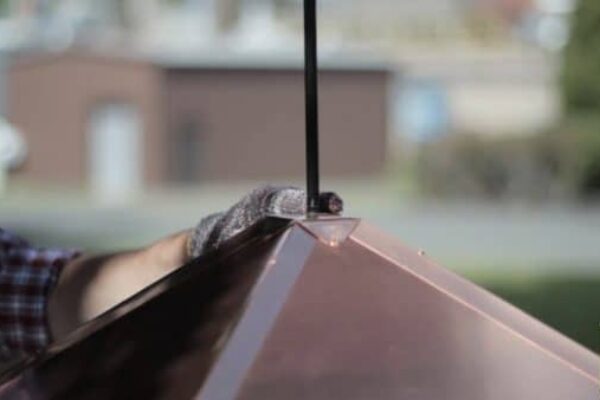
Remove the top of your cupola if possible. There will be a hole on the top where you can insert your adjoined assembly rod.
Insert your assembly rod directly through the top so that the large portion of the assembly rod is even with the top of the wooden or vinyl cupola.
Step 3
Turn your cupola top to the opposite side and tighten the set screw with a wrench. This will ensure the large portion of the assembly rod stays in its place securely.
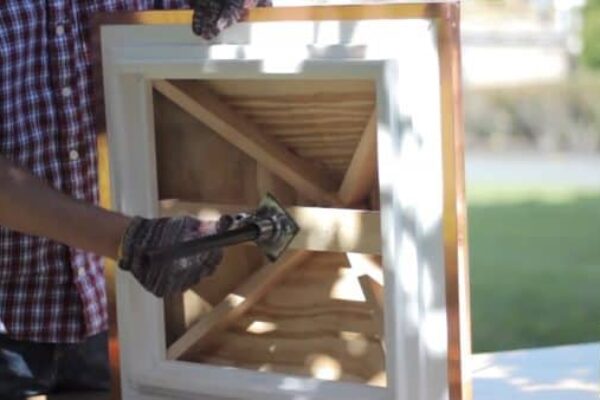
Step 4
Return your cupola top to its original position. Make sure the large assembly rod is even with the cupola’s top. Only the small portion of the rod is needed for the other weathervane parts.
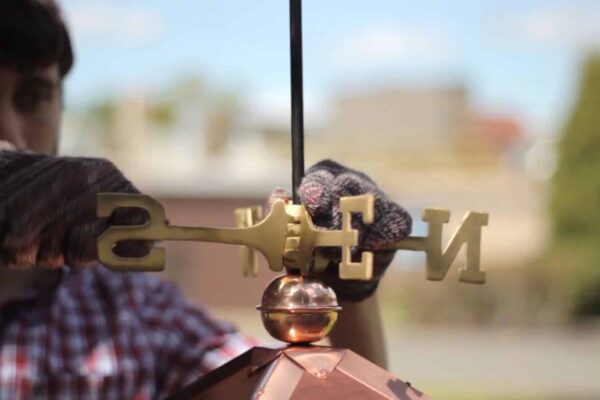
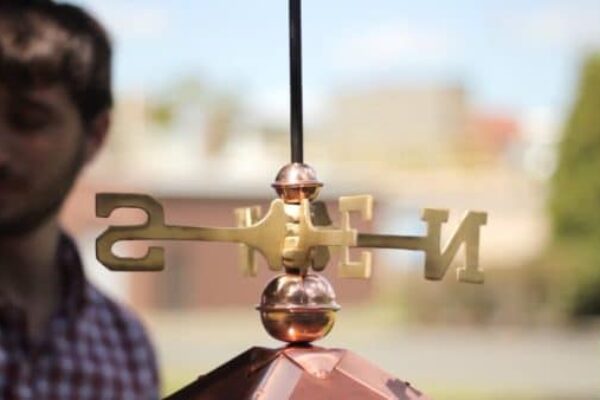
Step 5
Next place the large spacer ball on the rod and interlock the directionals. Place the directionals on the large spacer ball. The directionals are meant to remain stationary and should be tightened with your flathead screwdriver.
Step 6
Now you can place the small spacer ball of your weathervane on top of the directionals.
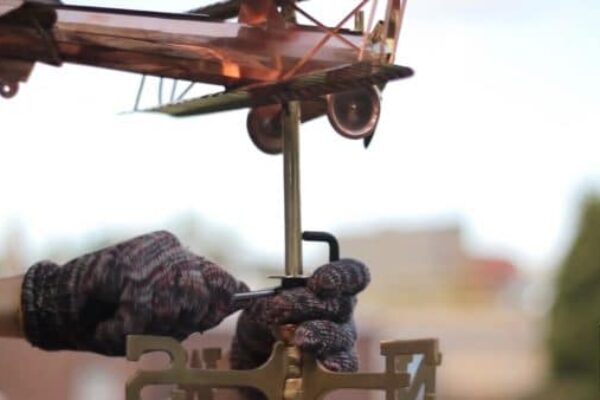
Step 7
Slide your figure onto the rod and tighten the connection with a Philip’s head screwdriver if needed.
(If your figure has a retaining clip)
When a flange, or lip, is present at the bottom of the rod, you will need a retaining clip to make sure it doesn’t get picked off the rod by the wind. To secure this properly, hold the retaining clip below your figure and slide the retaining clip over the rod first followed by your weathervane figure. Make sure the top of the retaining clip is not touching the flange, or lip, then tighten the connection with your Philips head screwdriver.

Step 8
Now you are ready to install your cupola with its secured weathervane onto your desired structure. You can find directions on how to install a cupola here.
After You’ve Installed the Cupola
Every day you walk outside you will get to step back and enjoy your beautiful cupola topped with your charming weathervane. You did it! Not only was it simple, but it was also enjoyable. And now when your family and friends can’t stop talking about your brilliant new addition you will know exactly how to help them install one of their own.
Ready to start but still need to find the cupola for the weathervane? We would be delighted to help you find a wooden or vinyl cupola that will fit your building and your property. Whether it is a house cupola to enhance and finish off your home, a cupola for a horse barn to keep the air fresh and clean or a small cupola for a chicken coop, we’ve got you covered!